

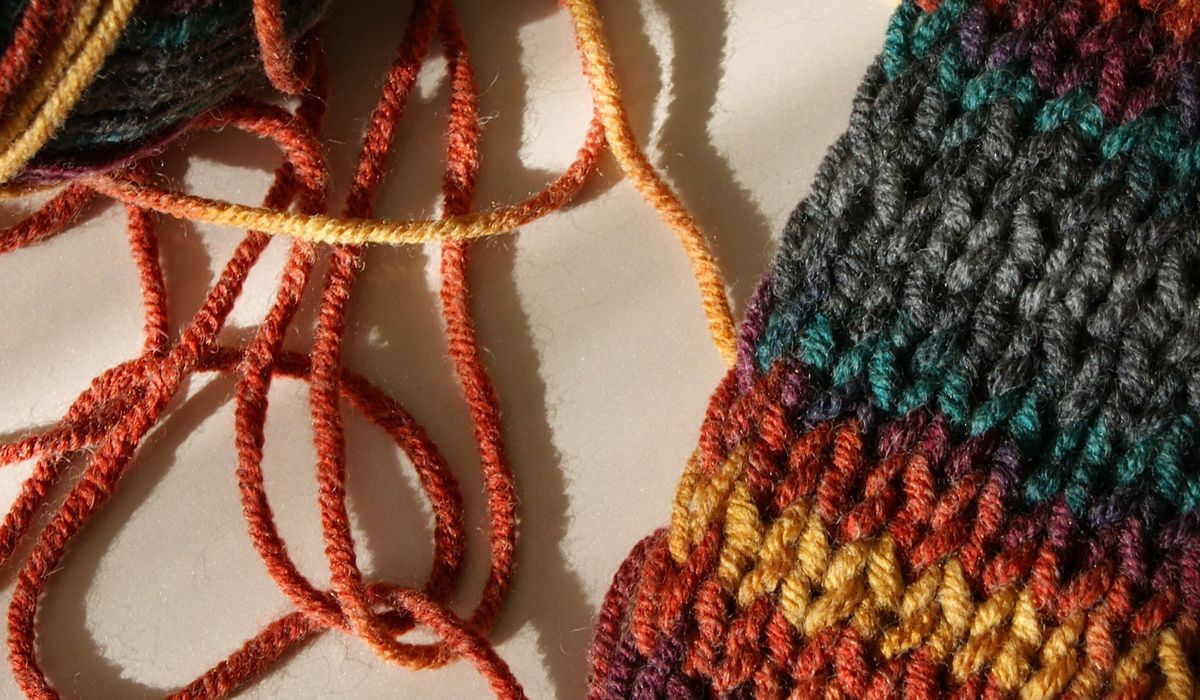
Why Start with a Granny Square?
The granny square is the handshake of the crochet world. It is friendly, forgiving and endlessly adaptable. You work in rounds from the centre outwards, creating clusters of stitches that form a square. Because you repeat the same few stitches, your hands quickly learn the rhythm. It is the perfect first project for absolute beginners, and it grows into blankets, cushions, bags and more. Best of all, you can use up oddments of yarn, so nothing goes to waste.
Choosing Yarn and Hook for Your First Square
For a beginner, choose a smooth, light-coloured yarn in double knitting (DK) weight. Avoid fluffy or dark yarns at first — you need to see your stitches clearly. A 4mm hook works well with most DK yarns. If you crochet tightly, go up to a 4.5mm hook; if loosely, try a 3.5mm. Cotton yarn gives crisp, defined squares, while acrylic is affordable and easy to unravel if you make a mistake. You will also need a pair of scissors and a blunt tapestry needle for weaving in ends.
Before you begin, practise the basic stitches: chain (ch), slip stitch (sl st) and treble crochet (tr). In UK terms, a treble is the tall stitch that makes up the granny cluster. If you can make a treble, you can make a granny square.
Working in Rounds: The Basic Stitch Pattern
Start with a magic ring, or chain four and join with a slip stitch to form a loop. Round one: chain three (this counts as your first treble), then work two more trebles into the ring. Chain one, then work three trebles, chain one, three trebles, chain one, three trebles, chain one. Join with a slip stitch to the top of the starting chain. You now have four clusters of three trebles, separated by chain-one spaces. These are your corners.
Round two: slip stitch across to the first corner space. Chain three, work two trebles into that corner space, chain one, then three trebles into the same space. This makes a corner. Chain one, then work three trebles into the next corner space, chain one, three trebles into the same space. Repeat around. Join with a slip stitch. Each round, you add one cluster on each side between corners. The pattern is always: in each corner space work three trebles, chain one, three trebles; in each side space work three trebles. That is the whole granny square.
Changing Colours Neatly
Changing colour is what makes granny squares sing. At the end of a round, after your final slip stitch, cut the yarn leaving a 10cm tail. Pull the tail through the loop and tighten. Thread the tail onto your tapestry needle and weave it into the back of the work. Join the new colour in any corner space: make a slip knot on your hook, insert the hook into the corner space, pull the loop through, then chain three and continue as normal. Do not tie knots — weaving the ends securely is stronger and neater.
For a clean colour change, work the last treble of the round until two loops remain on your hook. Drop the old colour, pick up the new colour, and complete the stitch. Then join with a slip stitch. This avoids a visible bump. Always weave ends in as you go, rather than leaving them all to the end.
Joining Motifs into Blankets and Cushions
Once you have a stack of squares, you can join them. The simplest method is whip stitch: hold two squares with right sides together and sew through the back loops of the edge stitches using a tapestry needle and matching yarn. For a flatter join, use slip stitch through both layers. For a seamless, no-sew finish, try join-as-you-go: work the final round of each new square, attaching it to the previous square at the corners and along the sides with slip stitches.
For a cushion cover, make four squares and join them into a larger square. Crochet a simple border of double crochet (UK) around the whole piece, then sew a fabric backing or crochet a second panel and join three sides, inserting a cushion pad before closing the fourth. For a blanket, join squares in a grid, then add a border of treble clusters or shells to frame the whole thing. A 4x4 grid of 15cm squares makes a lovely pram blanket; 6x8 makes a throw.
Troubleshooting and Finishing Touches
If your square curls, your tension is too tight. Try a larger hook or relax your grip. If it ripples, your tension is too loose. Count your stitches at the end of each round: you should have four clusters per side, plus corners. Blocking is the secret to professional-looking squares. Pin them to a towel or blocking board, mist with water, and leave to dry. This opens up the stitches and makes joining much easier.
Finally, do not be afraid to experiment. Use three or four colours per square, or make a single-colour square with a contrasting border. The granny square is forgiving — small mistakes disappear once joined. Make a few practice squares, then choose your favourite colour combination and turn them into something useful for your home or a gift for family. Happy crocheting.




John Doe
14 January, 2022Having no content in post should have adverse..
Chauffina Carr
10 April, 2022We use these tests all time! Killer stuff!
Jim Séchen
16 July, 2022Thanks for all the comments, everyone!