

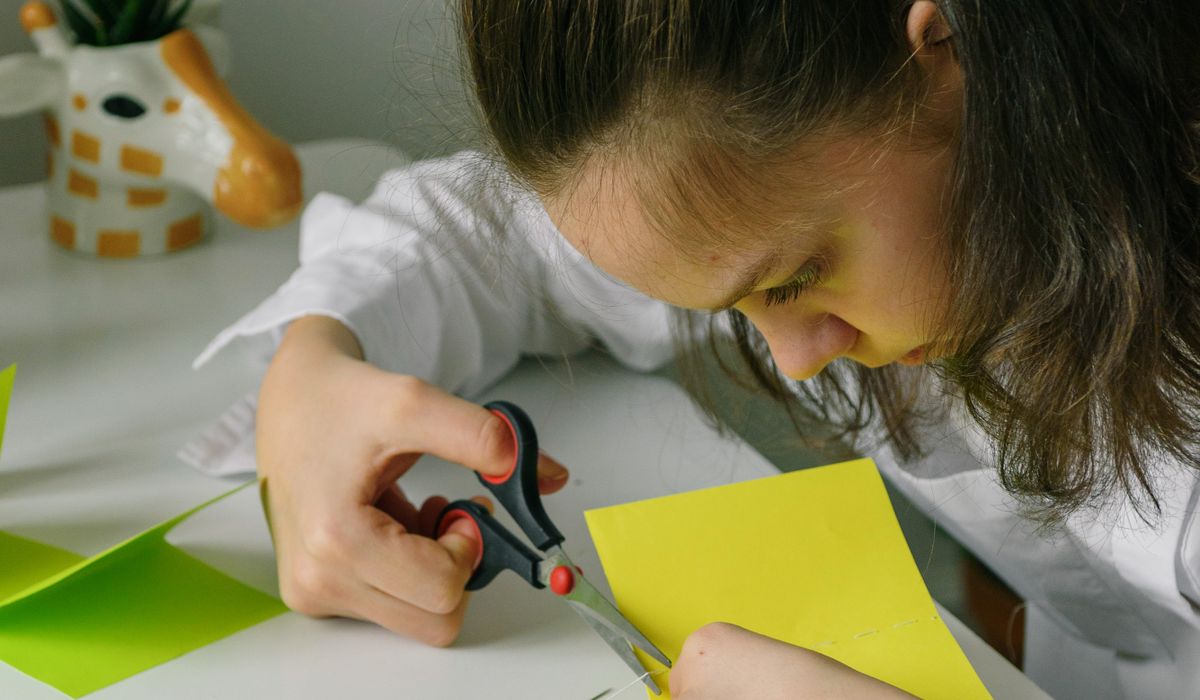
There is something quietly satisfying about colouring Easter eggs with things you already have in the kitchen. A bag of onion skins, a slightly tired beetroot at the back of the fridge, a handful of spinach — each one gives a soft, earthy shade that looks far more interesting than a uniform tablet of dye. It is a lovely way to spend an afternoon with children, and everything involved is safe enough to eat afterwards, which is more than can be said for some shop-bought kits.
Why Natural Dyes Are Worth the Extra Effort
Natural dyes will never give you the neon-bright finish of a commercial kit, and that is rather the point. The colours are muted, mottled and slightly unpredictable, so no two eggs come out the same. They also cost almost nothing if you are already cooking with the ingredients, and you can raid the spice drawer and the vegetable rack for anything else that takes your fancy.
There are a couple of practical caveats. Natural colours tend to be paler than synthetic ones, and they fade over time, so keep finished eggs out of direct sunlight if you want them looking their best on Easter Sunday. Results also vary depending on your water and the age of your vegetables, so treat the quantities below as a starting point rather than a strict recipe.
What You Will Need
- Eggs — white shells take colour far better than brown. Free-range or duck eggs both work well.
- Saucepans — one per colour, ideally stainless steel or enamel. Avoid aluminium, which can react with the dye and give a dull, greyish result.
- White vinegar — roughly one tablespoon per litre of water to help the colour fix.
- A slotted spoon or tongs for lifting eggs in and out.
- Old tights or squares of muslin, plus elastic bands and string, for the leaf prints.
- Small flat leaves — parsley, fern, clover, bay, ivy.
- A white wax crayon or a candle stub for the resist patterns.
- Kitchen paper, a cooling rack and a little vegetable oil for the finishing touch.
Making Your Dye Baths
The method is the same for all three: simmer the plant material in water for 30 to 60 minutes, strain it, stir in the vinegar, then lower in your eggs. Hard-boil the eggs first — eight to ten minutes from a rolling boil — and cool them under cold running water before they go anywhere near the pan.
- Onion skins (brown): the most reliable of the lot. Three or four good handfuls of dry skins per litre of water, simmered for half an hour, gives a warm russet deepening to copper. Leave the eggs in overnight and you will get a rich, terracotta brown.
- Beetroot: two raw beetroot, roughly chopped, per litre of water. Simmer for 40 minutes and strain. Expect a soft pink with a hint of brown — a splash of vinegar after straining keeps it on the pink side of raspberry. Red onion skins alongside it will push the colour towards olive, which is odd but rather handsome.
- Spinach: a whole 200g bag, wilted and simmered for 30 minutes, with a pinch of bicarbonate of soda in the water. Without the bicarb, spinach tends to give a disappointing beige; with it, you get a pale, springlike green.
Cold dyeing — leaving the eggs in the pan in the fridge for several hours or overnight — gives a more even, saturated colour. Hot dyeing is much quicker, and the patchy finish suits a rustic basket of eggs perfectly well.
Wax Resist Patterns
Draw straight onto the dry shell with a white wax crayon or the blunt end of a candle before the egg goes anywhere near the dye. Keep the design simple: stripes, dots, spirals, a few zigzags. Wherever the wax sits, the colour cannot reach, so you are left with the original shell showing through.
For a two-tone egg, dye it pale first and let it dry completely, then draw your pattern and dip it into a darker bath. To lift the wax off afterwards, warm the eggs gently — a few minutes in an oven at around 100°C, or held near a radiator — and wipe with kitchen paper while they are still warm. Do keep an eye on them, as overheating can crack the shell.
Leaf and Petal Prints
This is the trick that makes people ask how you did it. Press a small, flat leaf or a fern frond against the shell, wrap the egg tightly in a square of old tights, and secure it with a rubber band or a length of string. The tighter the wrap, the crisper the outline. Dye as normal, then unwrap once the egg has cooled.
You will be left with a clean silhouette in the original shell colour. Parsley and fern give delicate, feathery shapes, while a bay leaf shows up beautifully against a deep onion-skin brown. You can also bundle an egg inside a handful of onion skins before tying, which leaves lovely swirling lines, or use rubber bands on their own for simple stripes.
Getting the Best From Your Eggs
- Wipe each shell with a little vinegar on a cloth before dyeing to remove natural oils, which can stop the colour taking evenly.
- Longer soaking means deeper colour. Overnight in the fridge, with the pan covered, is the sweet spot.
- To keep decorated eggs as keepsakes, blow them first: prick both ends with a needle, blow out the contents into a bowl for scrambling, rinse the shell and let it dry before dyeing.
- Finish with a soft shine by rubbing each cooled, dried egg with a drop of vegetable oil on kitchen paper.
- Dyed eggs are still just boiled eggs, so eat them within two days — but only if they have not been sitting out of the fridge for hours, and never eat one with a cracked shell that has been left at room temperature.






John Doe
14 January, 2022Having no content in post should have adverse..
Chauffina Carr
10 April, 2022We use these tests all time! Killer stuff!
Jim Séchen
16 July, 2022Thanks for all the comments, everyone!