

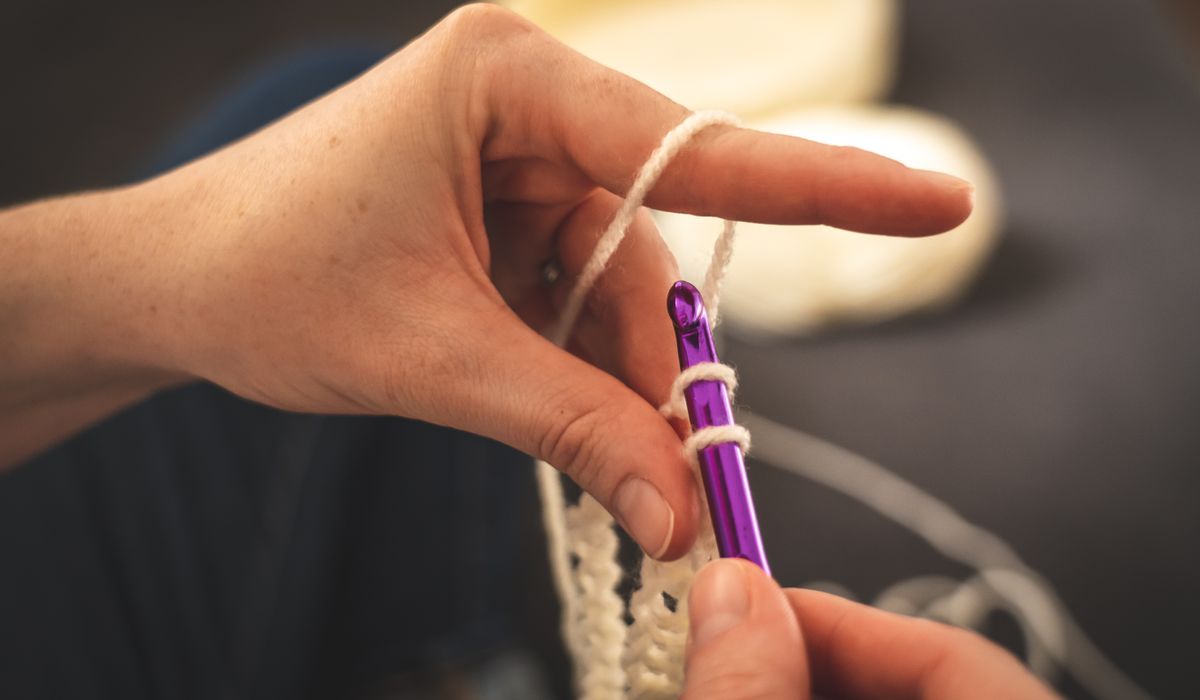
Why a Scarf Is the Perfect First Project
A scarf is the ideal debut for a new knitter, and there's a good reason it has taught generations of people to knit. It's a rectangle. No shaping, no armholes, no tricky fitting — just straight rows of stitches that eventually turn into something genuinely useful. You'll practise the two stitches that underpin everything else in knitting, and you'll finish with a warm, wearable piece you can wrap around a family member or drape over your own coat hook.
This guide walks you through a simple scarf worked in a soft, squishy rib so it lies flat and doesn't curl. Expect it to take a beginner somewhere between ten and twenty hours of knitting, spread over a few cosy evenings. By the end you'll be able to cast on, read a basic pattern, and cast off neatly — the full life cycle of a knitted thing.
What You'll Need Before You Start
Gathering the right kit makes the difference between a joy and a struggle. For a warm adult scarf, aim for a yarn that's smooth, light-coloured and on the thicker side — it's far easier to see your stitches.
- Yarn: around 200g of DK or aran weight wool or wool-blend yarn. Avoid fluffy, fuzzy or dark yarns for your very first project; they hide mistakes rather too well.
- Needles: one pair of 5mm or 6mm straight needles. Check the ball band — it recommends a needle size, and matching it keeps your tension close to the pattern.
- Notions: a blunt tapestry needle for weaving in ends, a pair of scissors, and a row counter or a scrap of paper and a pencil.
You'll also need about 15cm of smooth spare yarn to practise on before you commit to your real scarf, and a tape measure to check your progress now and then.
Casting On: Getting the First Stitches onto the Needle
Casting on creates your foundation row, and there are several ways to do it. The cable cast-on is the friendliest for beginners because it produces a firm, tidy edge that won't stretch out of shape.
Make a slip knot about 30cm from the yarn end and place it on your left needle. Knit into that loop as normal, but instead of sliding the old stitch off, slip the new stitch back onto the left needle beside it — you've just added a stitch. Repeat, always knitting into the newest stitch, until you have 30 stitches on the needle. Keep the stitches loose enough to slide easily but snug enough that they don't fall off. Thirty stitches in DK on 5mm needles gives a scarf roughly 20cm wide — generous enough to tuck into a coat collar.
Knit and Purl: Your Two Building Blocks
Every stitch you'll ever knit is a variation of these two.
The knit stitch: hold the yarn at the back of the work, insert the right needle into the front of the first stitch from left to right, wrap the yarn around the needle, and pull a loop through. Slide the old stitch off. That's one knit stitch.
The purl stitch: bring the yarn to the front, insert the right needle into the front of the stitch from right to left, wrap the yarn over and pull a loop through, then slide the old stitch off.
Worked alone in every row, knit stitches create garter stitch — flat, ridged and completely non-curling. Alternate a knit row with a purl row and you get smooth stocking stitch. For this scarf, work a simple 2x2 rib: knit two, purl two, all the way across, every row. Ribbing pulls in slightly and gives a lovely stretchy texture.
- Row 1 onwards: *knit 2, purl 2; repeat from * to the end.
- Repeat this single row until the scarf measures 150cm, or 120cm for a child's version.
- Because 30 stitches divides by four with two left over, begin each row with knit 2 and finish with purl 2 — write this on your paper so you don't second-guess yourself.
Following the Pattern and Keeping Track
Beginners lose more rows to distraction than to any technical problem. A row counter, or a simple tally mark on paper each time you finish a row, saves you from guessing. Learn to read your knitting too: in rib, a knit stitch looks like a small V, a purl stitch like a little horizontal bump. If the next stitch on the needle looks like a V, knit it; if it looks like a bump, purl it. Once you can do that, you'll never be truly lost.
Check your width every so often. If the scarf has crept wider, you're accidentally adding stitches at the edges; if it's narrowing, you're dropping them. Count your stitches at the end of a row — thirty, every time.
Casting Off and Finishing Neatly
When your scarf reaches its length, leave a tail roughly four times the width of your work and cast off in pattern. Knit two stitches, then lift the first stitch over the second and off the needle — one stitch cast off. Continue across, matching knit to knit and purl to purl, keeping the tension relaxed. Don't pull the final loop tight; cut the yarn, thread it through the last stitch and pull gently.
Weave the loose ends into the wrong side with your tapestry needle, working in and out of the ridges for about 8cm before trimming. Finally, block the scarf: dampen it lightly, pin it to a towel at its finished measurements and leave it to dry flat. This settles the stitches, evens out any wobbles and gives your handmade scarf a professional finish you'll be proud to wear.




John Doe
14 January, 2022Having no content in post should have adverse..
Chauffina Carr
10 April, 2022We use these tests all time! Killer stuff!
Jim Séchen
16 July, 2022Thanks for all the comments, everyone!