

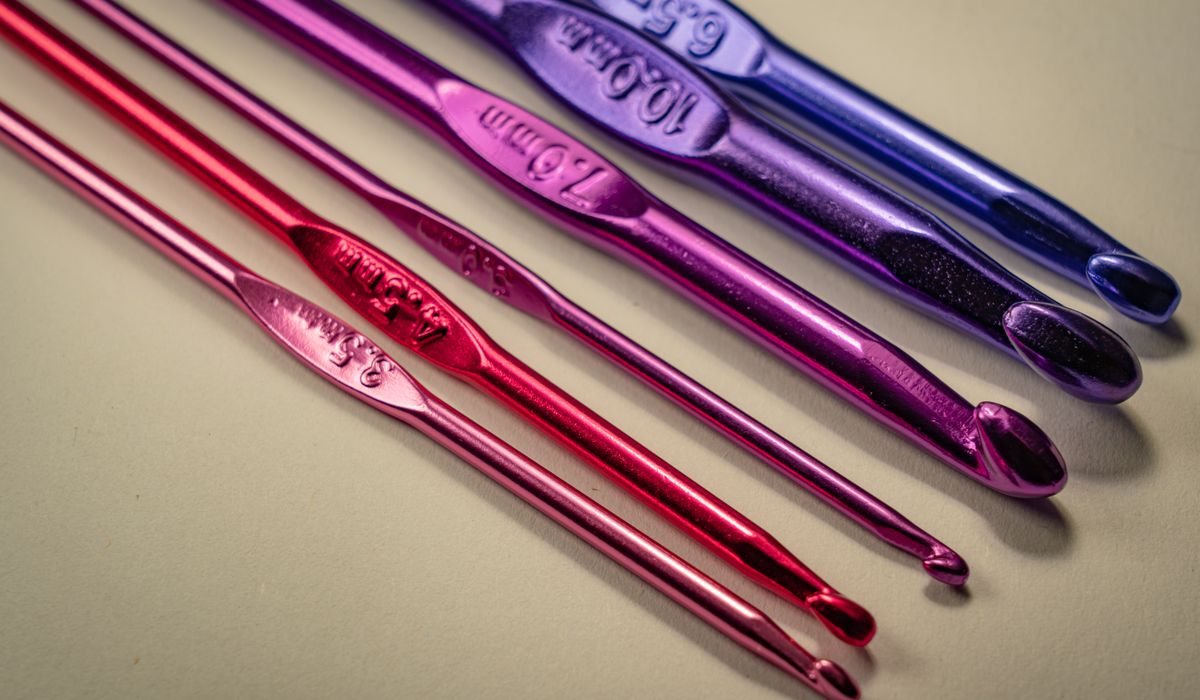
Why Crochet Patterns Look Like Code
You have your hook, your yarn and a pattern that seems to have been written by someone in a hurry using a private language. Rows of letters like dc, ch 1, miss 1 st, tr in next st stare back at you, and suddenly the jumper you imagined feels a long way off. Take heart: crochet patterns are not mysterious. They are simply compressed, and like any compression, they follow rules. Once you know the rules, you can read almost any design, from a baby blanket to a lacy shawl, without unpicking half of it.
The trick is not to read faster. It is to read in the right order, and to know which parts of the pattern are instructions and which are simply information.
Start With the Pattern Key, Not the First Row
Before you work a single stitch, read the whole pattern from top to bottom. Yes, all of it. You are not trying to memorise it — you are looking for the shape of the thing. Pay particular attention to the sections most people skip:
- Yarn and hook details, including the tension given as a 10cm square.
- Special stitches, which are often explained only once and then referred to by name.
- Notes and charts, which may override the written rows.
- Abbreviations list, which tells you exactly which terms this designer uses.
That last point matters more than anything else in this article. UK and US crochet terms are not the same. A US single crochet is a UK double crochet. A US double crochet is a UK treble. If a pattern does not state its origin, check the abbreviation list for sc. If there is no sc, you are almost certainly reading UK terms, because British patterns rarely use single crochet at all.
Decoding the Common Abbreviations
Most UK patterns lean on a small, stable core of abbreviations. Learn these and you will recognise them in your sleep:
- ch — chain
- ss or sl st — slip stitch
- dc — double crochet
- htr — half treble
- tr — treble
- dtr — double treble
- inc — increase (usually two stitches into one)
- dec — decrease (usually two stitches worked together)
- tog — together
- sp — space, and ch-sp — chain space
- RS and WS — right side and wrong side
- rep — repeat, and fo — fasten off
Notice that many abbreviations are just the first letters of the words. Chase the full word once and the code unlocks. A pattern that says 3ch, miss 2 sts, tr in next st is simply telling you to make a little chain arch with a gap beneath it.
Brackets, Asterisks and Repeat Sections
Repeat instructions are where most people come unstuck, and they are entirely logical once you spot the punctuation. Crochet uses three main devices:
- Asterisks: *dc in next st, 2dc in next st; rep from * to end. Work the section between the asterisks over and over until you run out of stitches.
- Brackets: (2tr, ch 2, 2tr) in next ch-sp. Everything in the brackets goes into the same place — here, one chain space.
- Repetition counts: [dc in next 2 sts, 2dc in next st] 3 times. Work the bracketed section exactly three times, then carry on with whatever follows.
Patterns often combine these, and they may also say rep from * to last 3 sts, which means stop repeating early and leave a few stitches for the row ending. Count your stitches at the end of every repeat row and compare them with the number given. If the pattern does not give one, write your own in pencil in the margin. It is the single most useful habit you can build.
Reading Symbol Charts Calmly
Symbol charts are simply a picture of the fabric, and many crafters find them clearer than words once they are used to them. Each symbol represents one stitch or action, and the legend beside the chart explains which is which. Two rules do most of the work:
- Row charts are read from the bottom upwards. For a right-handed crocheter, odd-numbered right-side rows are read right to left, and wrong-side rows left to right, because you turn your work at the end of each row.
- Round charts start at the centre and spiral outwards, read anticlockwise for right-handed crocheters. The little oval at the centre is your starting ring.
If you are left-handed, simply mirror the direction. The stitches themselves are unchanged. Keep your finger or a ruler under the row you are working so your eye does not wander into the next one.
Tension, Counts and Other Safety Nets
Two quiet details will save you more unpicking than any amount of confidence. The first is tension, sometimes called gauge. Work a 15cm square in the stitch pattern, then measure a 10cm section in the middle. If you have more stitches than the pattern states, go up a hook size; if fewer, go down. A half-millimetre change in hook makes a surprising difference over a whole garment.
The second is the stitch count printed at the end of many rows. Check it before you move on, not three rows later. If it is wrong, the fault is almost always in the repeat section you have just worked, or in a missed turning chain. Fixing one row is quick. Fixing ten is a chore.
Finally, mark your repeats with a stitch marker or a small safety pin, and tick off completed rows on a sticky note. A pattern becomes friendly the moment you stop holding all of it in your head at once. Read it in sections, trust the punctuation, and let the fabric tell you when something has gone awry. Confidence, in crochet as in most crafts, is simply familiarity wearing a calm expression.




John Doe
14 January, 2022Having no content in post should have adverse..
Chauffina Carr
10 April, 2022We use these tests all time! Killer stuff!
Jim Séchen
16 July, 2022Thanks for all the comments, everyone!